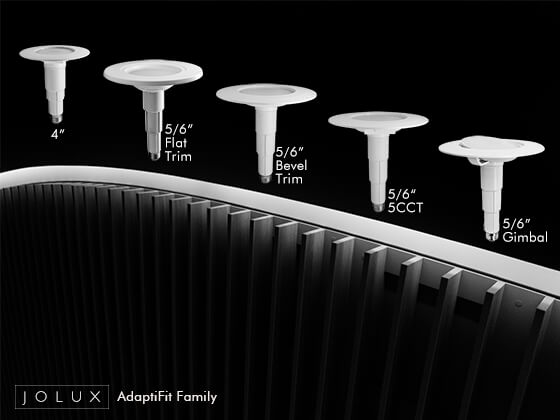
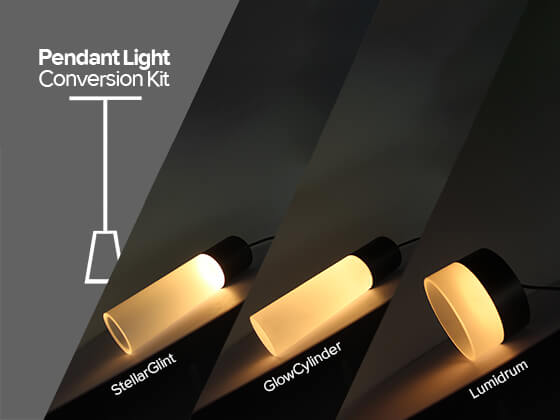
Easy install Jolux LED recessed light conversion kit just screw-n-push AB
Step-by-Step Installation Guide for Your Jolux Adjustable Can Light Conversion Kit
- Safety First: Before beginning any installation, make sure to turn off the power at the main switch or circuit breaker.
- Remove Existing Fixture/Bulb: Carefully take down any existing light fixtures or bulbs from the location where you'll be installing the new lamp.
- Adjust the Lamp: Extend the lamp to its maximum height.
- Install the Lamp: Carefully screw the lamp into the open socket located inside the recessed can.
-
Positioning the Trim: Gently push the trim until it is flush with the ceiling. In certain cases, the trim may not sit flush with the ceiling if the socket holder of the housing is too soft. Here's a solution:
- If you notice a gap between the trim and the ceiling, you'll need to adjust the lamp's adjustable rod. For example, if there's a 5mm gap between the trim and the ceiling, retract the rod outward by 5mm.
- Continue screwing the lamp into the socket. Once fully screwed in, the trim should fit perfectly flush with the ceiling.
- Test the Lamp: Turn the power back on and test the lamp to ensure it's working properly.
More Options
- For a clearer understanding of the installation process, we also provide illustrations below for reference.
- Additionally, our instructional video offers a hands-on demonstration, ensuring you get every step right.
- If you require further assistance or have any questions, don't hesitate to contact us at info@jolux-light.com.
At Jolux, we aim to make every step as smooth as possible for you. Thank you for letting Jolux light up your life.


