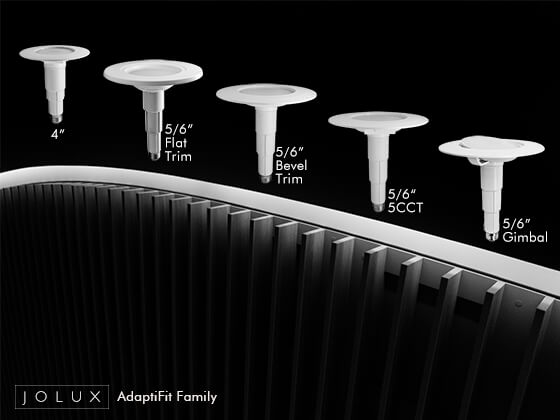
When installing your Jolux Screw-n-Push Retrofit Downlight, here are some essential tips to ensure a secure and flush installation:
-
Check for Loose Sockets:
Inspect the socket to ensure it isn’t loose. A loose socket can prevent the recessed light from sitting flush against the ceiling. If you find any looseness, make sure to secure the socket properly.
-
Ensure Proper Horizontal Alignment:
Verify that the socket is centered within the recessed can. A socket that is off-center may cause the downlight to not fully cover the can, resulting in an uneven installation.
-
Measure the Vertical Distance:
Confirm that the distance from the socket to the ceiling plane is greater than the minimum height required by the downlight. If this distance is too short, the light won’t sit flush against the ceiling. Adjust the vertical position of the socket until the gap meets or exceeds the minimum height, and then secure it in place.
-
Alternative Installation Method:
If the screw-n-push method does not result in a tight fit against the ceiling, try using the push-n-screw installation method as an alternative. -
Ceiling Compatibility:
Please note that this product is not designed for use on sloped ceilings.
By following these tips, you can help ensure a smooth installation process and a clean, professional look for your recessed downlights. Happy installing!


