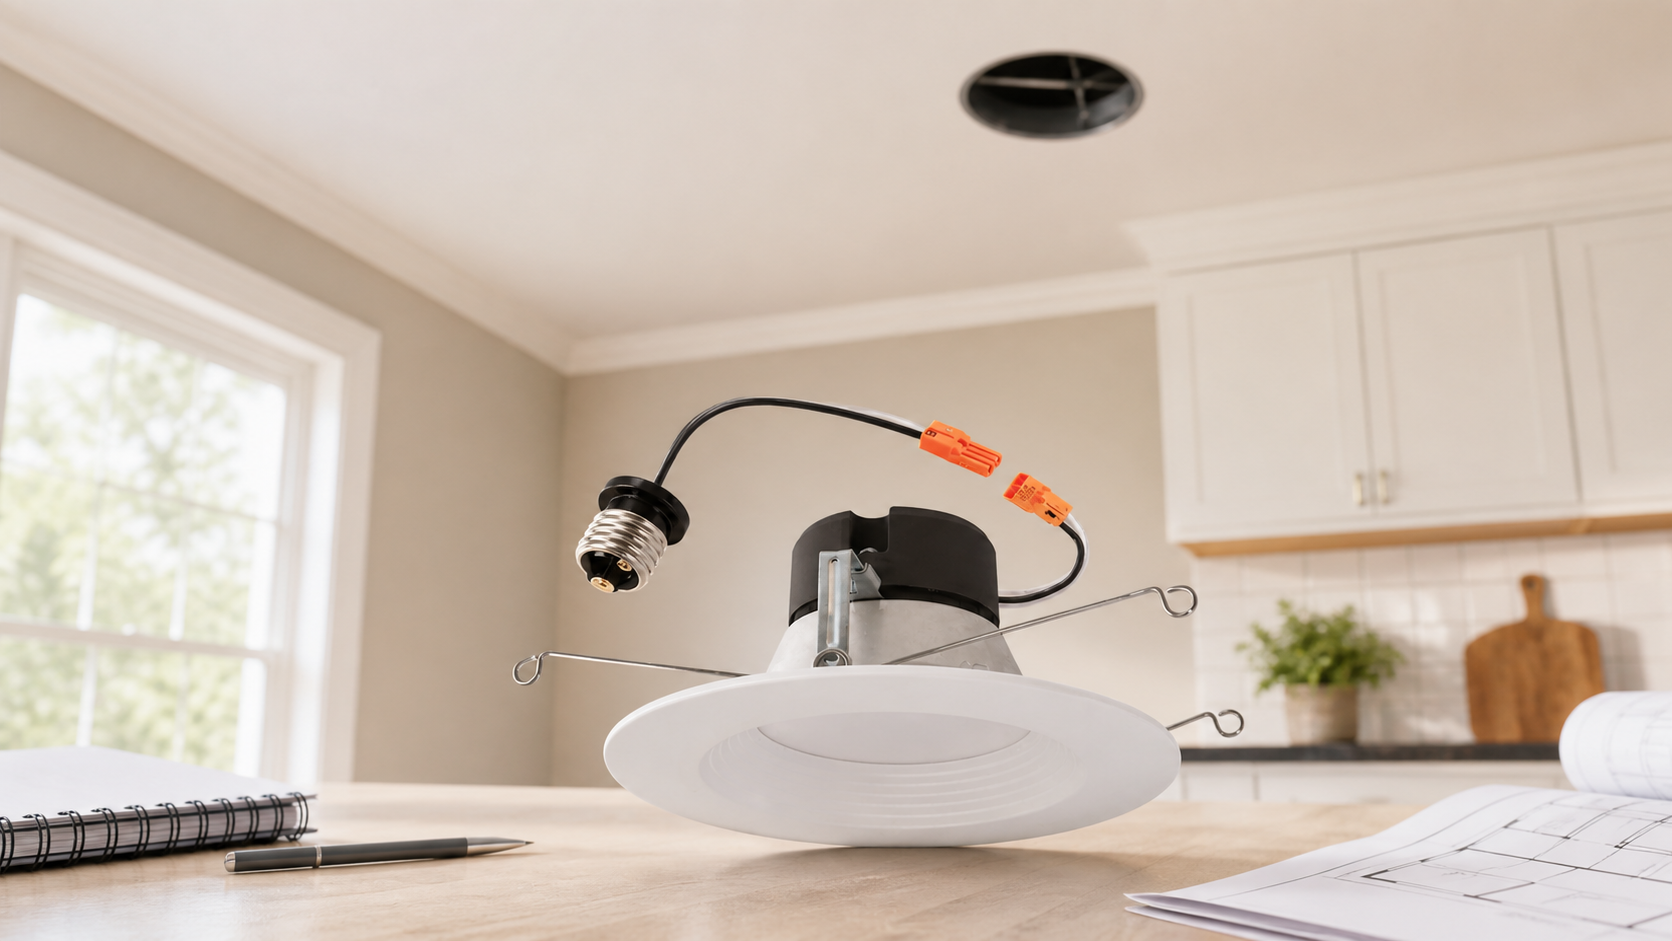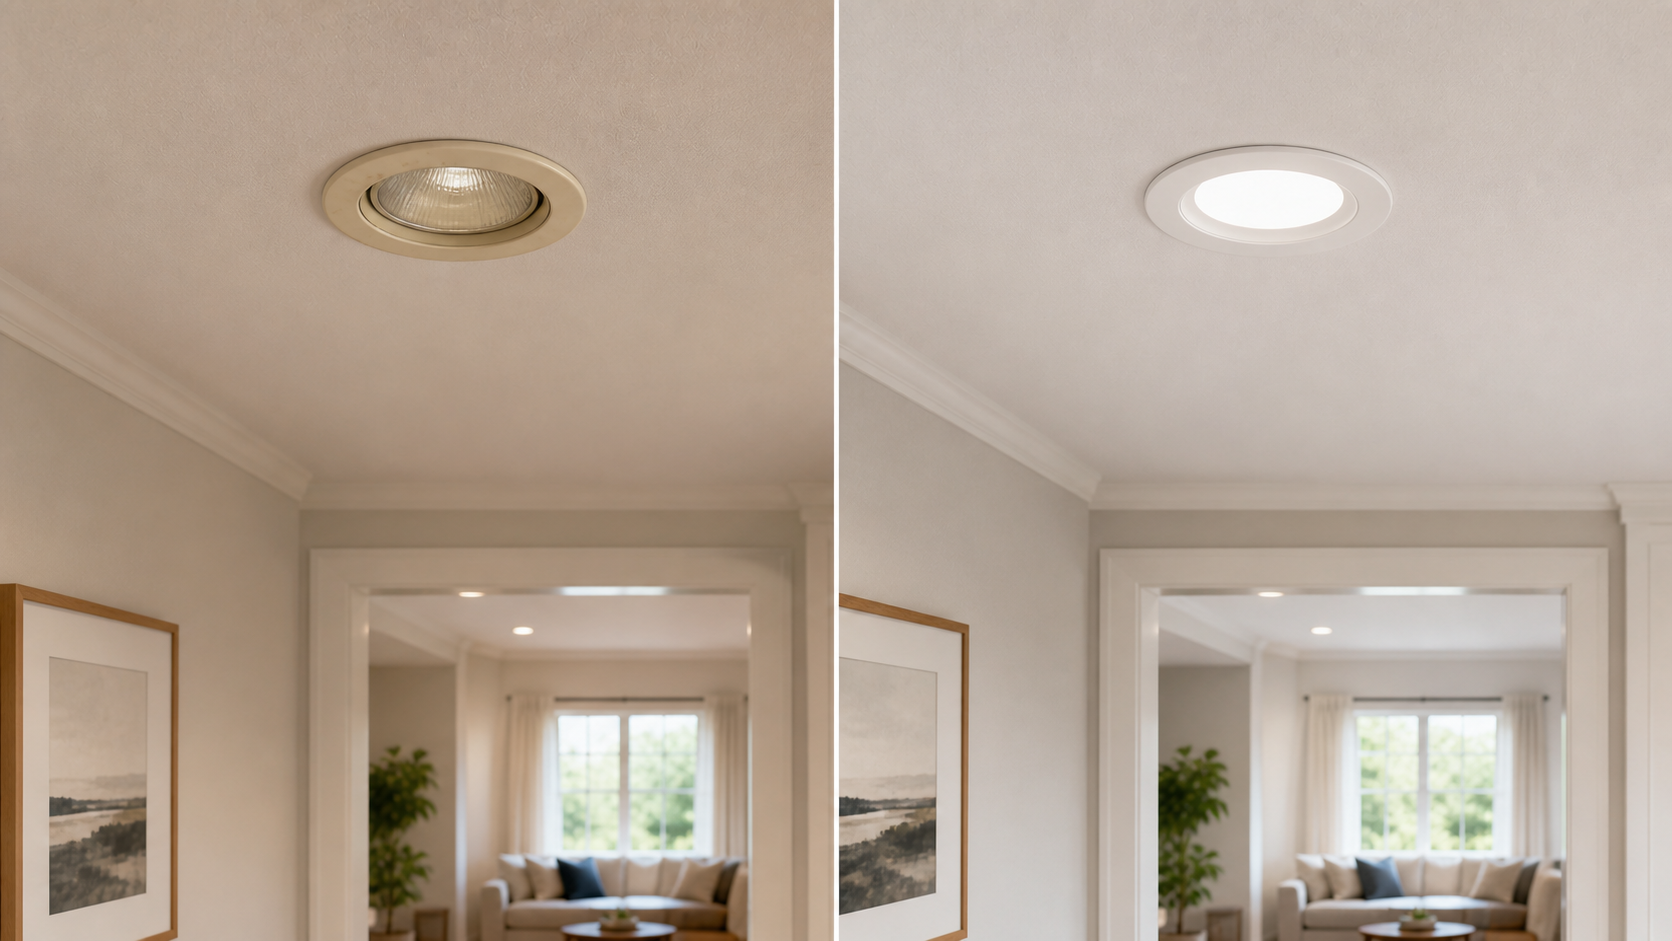






Replacing old recessed can lights with retrofit lights can be a practical upgrade, but fit is not determined by the visible trim alone. Before buying, shoppers should check the can size, socket position, mounting brackets or clips, housing depth, and ceiling condition.
This guide gives homeowners a conservative pre-purchase checklist. It is meant to reduce fit confusion and help you compare your ceiling setup with the product documentation before ordering.
Quick Answer
Before buying retrofit can lights, check the existing recessed can size, socket position, bracket or clip setup, can depth, and ceiling surface. Many fit questions come from a combination of these details, so do not assume a retrofit light will fit only because the old trim looks similar. Compare your ceiling setup with the product documentation, and ask support or a qualified professional if anything is unclear.

Retrofit Fit Checklist
| What to check | Why it matters | What to do before buying |
|---|---|---|
| Can size | Retrofit lights are designed for specific can-size ranges. | Check the existing housing and compare it with product documentation. |
| Socket position | A socket that sits unusually high, low, deep, loose, or off-center may affect fit. | Look inside the can with power off and compare the setup with installation guidance. |
| Mounting brackets or clips | Torsion springs usually need the right holder, bracket, or clip setup in the housing. | Confirm the existing housing can receive the retrofit product's mounting method. |
| Can depth | A shallow housing can reduce available space. | Do not force the fixture; review instructions if the can looks shallow. |
| Ceiling and trim condition | Texture, old paint, uneven drywall, or old trim interference may affect how cleanly the trim sits. | Check the ceiling surface before assuming the new trim will sit flush. |
| Dimmer plans | LED dimming behavior can vary by product, dimmer type, wiring, and installation condition. | Review product documentation before buying if you plan to use a dimmer. |
1. Check the Can Size
Can size is usually the first compatibility check. The visible trim is not always the same as the actual recessed housing size, especially in older homes or remodeled ceilings. Check the existing can and compare what you see with the product page and installation instructions.

2. Check Socket Position and Adapter Path
Some retrofit products use an E26 socket adapter or a connector path from the existing recessed can. If the socket appears unusually deep, loose, high, low, or off-center, pause and compare the setup with the product instructions. Avoid forcing a connection or assuming every housing behaves the same way.
3. Check Mounting Brackets, Clips, or Spring Holders
Many retrofit fixtures rely on torsion springs or similar mounting hardware. The housing needs a compatible holder, bracket, or clip setup for the fixture to seat correctly. If the brackets are missing, damaged, or unusual, review the product documentation before buying.
4. Check Can Depth and Ceiling Condition
Housing depth, ceiling texture, paint buildup, uneven drywall, old trim interference, or a loose housing can all affect final fit. A retrofit light that does not sit cleanly may not be caused by one factor alone.
5. Check Dimming Plans Before Buying
If you plan to use a dimmer, review the product documentation before buying. LED dimming performance may depend on the product, dimmer type, wiring setup, and installation condition. Avoid assuming a light works with every dimmer unless that claim is specifically verified.
When a Retrofit Light May Not Be the Right Fit
Use extra caution if the housing looks shallow, modified, loose, missing brackets, heavily painted, uneven around the ceiling opening, or different from the product instructions. These signs do not always mean a retrofit light will not work, but they do mean the setup deserves a closer check.
What to Do If You Are Not Sure
Do not force the fixture or guess on electrical conditions. Review the product documentation, contact support, or consult a qualified professional if you are unsure. This is especially important for wiring, housing condition, dimming, or any setup that does not match the instructions.
Recommended JOLUX Path
- Start with the retrofit collection.
- Read the product page and documentation carefully.
- Check can size, socket position, brackets or clips, housing depth, and ceiling condition.
- Use Q&A/support if your ceiling setup looks unusual.
- Keep product-specific claims separate from general educational guidance.
FAQ
Does a fixed socket mean a retrofit light will fit?
Not by itself. Socket position can be a useful clue, but fit also depends on can size, mounting brackets or clips, can depth, ceiling surface, and the specific product documentation.
Does an unusually positioned socket mean a retrofit light will not fit?
Not automatically. Some setups may still work, but a socket that appears loose, deep, high, low, or off-center should be checked more carefully before buying.
Should I measure the can size or just look at the trim?
Do not rely only on the trim. Trim appearance is not always the same as actual can size. Check the can and compare what you find with product documentation.
Can brackets or spring holders affect fit?
Yes, they may. Many retrofit fixtures need a compatible bracket, holder, or clip setup for torsion springs or mounting hardware. Review the instructions if your housing looks unusual.
Can I use retrofit lights with a dimmer?
If you plan to use a dimmer, review the product documentation before buying. LED dimming behavior may depend on the light, dimmer type, wiring setup, and installation condition.
What should I do if I am not sure?
Review the product documentation, contact support, or consult a qualified professional if you are unsure. Do not force a fit or guess on electrical conditions.
Final CTA
Ready to compare options?
Still checking your ceiling setup?